
HOW I MOUNT MY ENTRIES FOR THE PHOTO SECTION COMPETITION Paul Ferguson
This is not the only way to mount photos, but it works for me and it is not too labour intensive. You can find other methods on the internet.
Materials
Photo: The maximum image size is A4 (29.7 x 21cm). I cropped my entries digitally to this size before having them printed.
Mounts: I bought ready cut mounts and backing sheets A3 size with apertures for A4 prints. They came slightly smaller (29cm x 20.3cm) so there was a slight masking of the print to make it easier when it came to sticking the print to the mount but this means you have to be careful not to crop your main image too tightly.
Single and double sided sticky tape:
Sources: I bought my mounts from www.cotswoldmounts.co.uk and had the printing done by www.photobox.co.uk I have no connection with either company but was pleased with their quality and speedy service. Watch out as they may have a minimum order value.
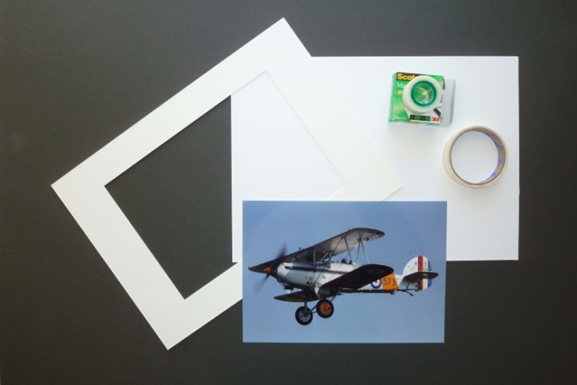
Materials ready for action
Method
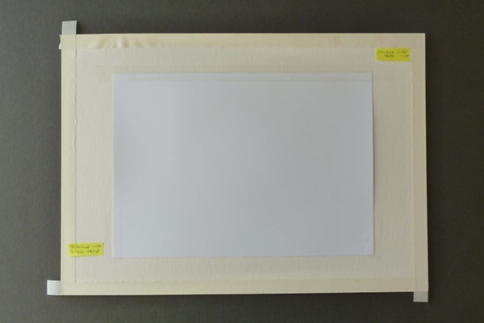
Place the mount face down and position the print. Use a weight to hold the print in position and apply single sided sticky tape along the top edge and the bottom corners.

Then stick double sided tape along all 4 edges of the mount. Remove the non-sticky protection from the tape, position the backing sheet and press the edges down.
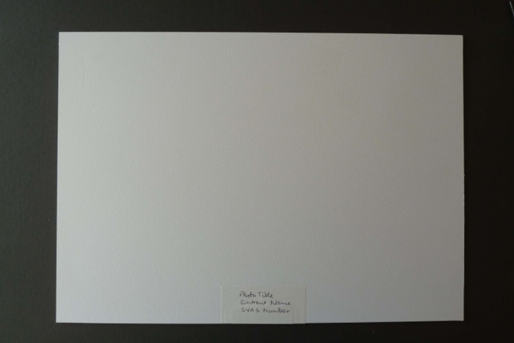
Write or stick a label on the back showing your name, SVAS membership number and category entered. If applicable also include ‘First Time Entry’
Turn it over, put the title on the front and admire your effort.
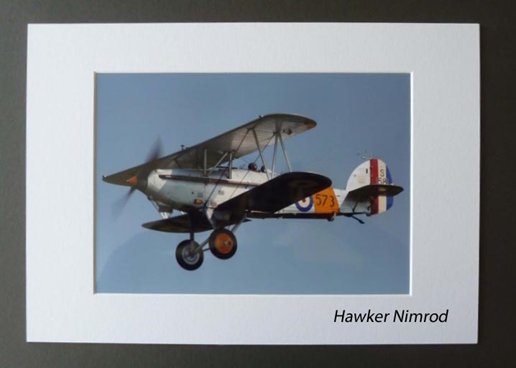
Send in your competition entry!
Recent Comments